
Photo by Jainath Ponnala on Unsplash
What is a Headless Raspberry Pi Setup?
A headless setup means configuring and using a Raspberry Pi without connecting it to a physical monitor, keyboard, or mouse. Instead, you control the device entirely remotely over a network using tools like SSH (Secure Shell)
Prerequisites
- Raspberry Pi (model 3/4/Zero W recommended for built-in Wi-Fi)
- MicroSD card (8GB+ recommended)
- Power supply
- Computer (Windows/Mac/Linux)
Step 1: Download and Install the OS
- Download Raspberry Pi Imager
- Insert microSD card into your computer.
- Open Raspberry Pi Imager:

- Choose your device, operating system, and storage, then click “NEXT.”
- A pop-up will appear — click on “Edit Setting.”

- Configure the values correctly, then go to the “SERVICES” tab and click on “ENABLE SSH.”
- Save the settings and click “YES” to begin formatting the SD card with the Raspberry Pi OS. This process will take a few minutes.
- After completion, eject the SD card, insert it into the Raspberry Pi, and connect the power.
- The Raspberry Pi will take some time to boot and connect to your Wi-Fi.
Connect via SSH and Set a Static IP
Once your Raspberry Pi has booted and connected to Wi-Fi, you can log in remotely via SSH and configure a static IP address. This ensures your Pi always uses the same network address for reliable and consistent access.
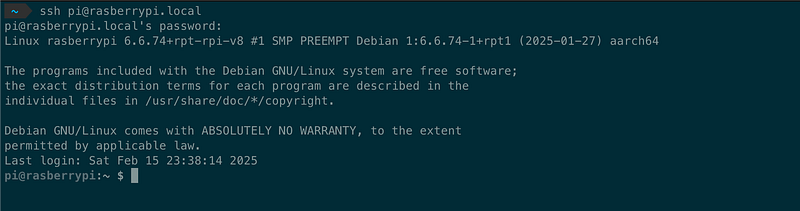
- Connect to your Raspberry Pi via SSH.
2. Run the ifconfig command to find your current IP address, which will be used as the static IP.
3. Retrieve the list of network interfaces by running the nmcli device status command.

4. In this example, the static IP will be set on wlan0, the built-in Wi-Fi interface.
5. To view the current configuration of the interface, run nmcli device show wlan0. You can modify the connection settings using the terminal UI with the nmtui command.
sudo nmtui edit “preconfigured”
6. Configure the necessary settings by adding at least an IPv4 address, Gateway, and DNS Server. For example:

7. Scroll down to the bottom and select “OK” to save the configuration.
8. The static IP settings are now saved but won’t take effect immediately. To apply the changes, restart NetworkManager:
sudo systemctl restart NetworkManager
9. Restart the Raspberry Pi, and it will now consistently use the same IP address, allowing you to log in reliably.